Why Prune Roses in Winter?
Winter in Australia is the perfect time to prune roses, as they are dormant. Pruning is simply defined as trimming back a plant or shrub. It helps to reduce disease, improves air circulation, allows more light in and encourages new growth, so your roses will look better than ever next season!
It’s easy to become nervous about pruning your rose bushes, especially when you see the result. However, this will be the perfect time to trust the process, and by the time you’ve read this blog, you’ll have the skills and confidence to prune your favourite roses and enjoy the new season of blooms ahead.
Before Pruning
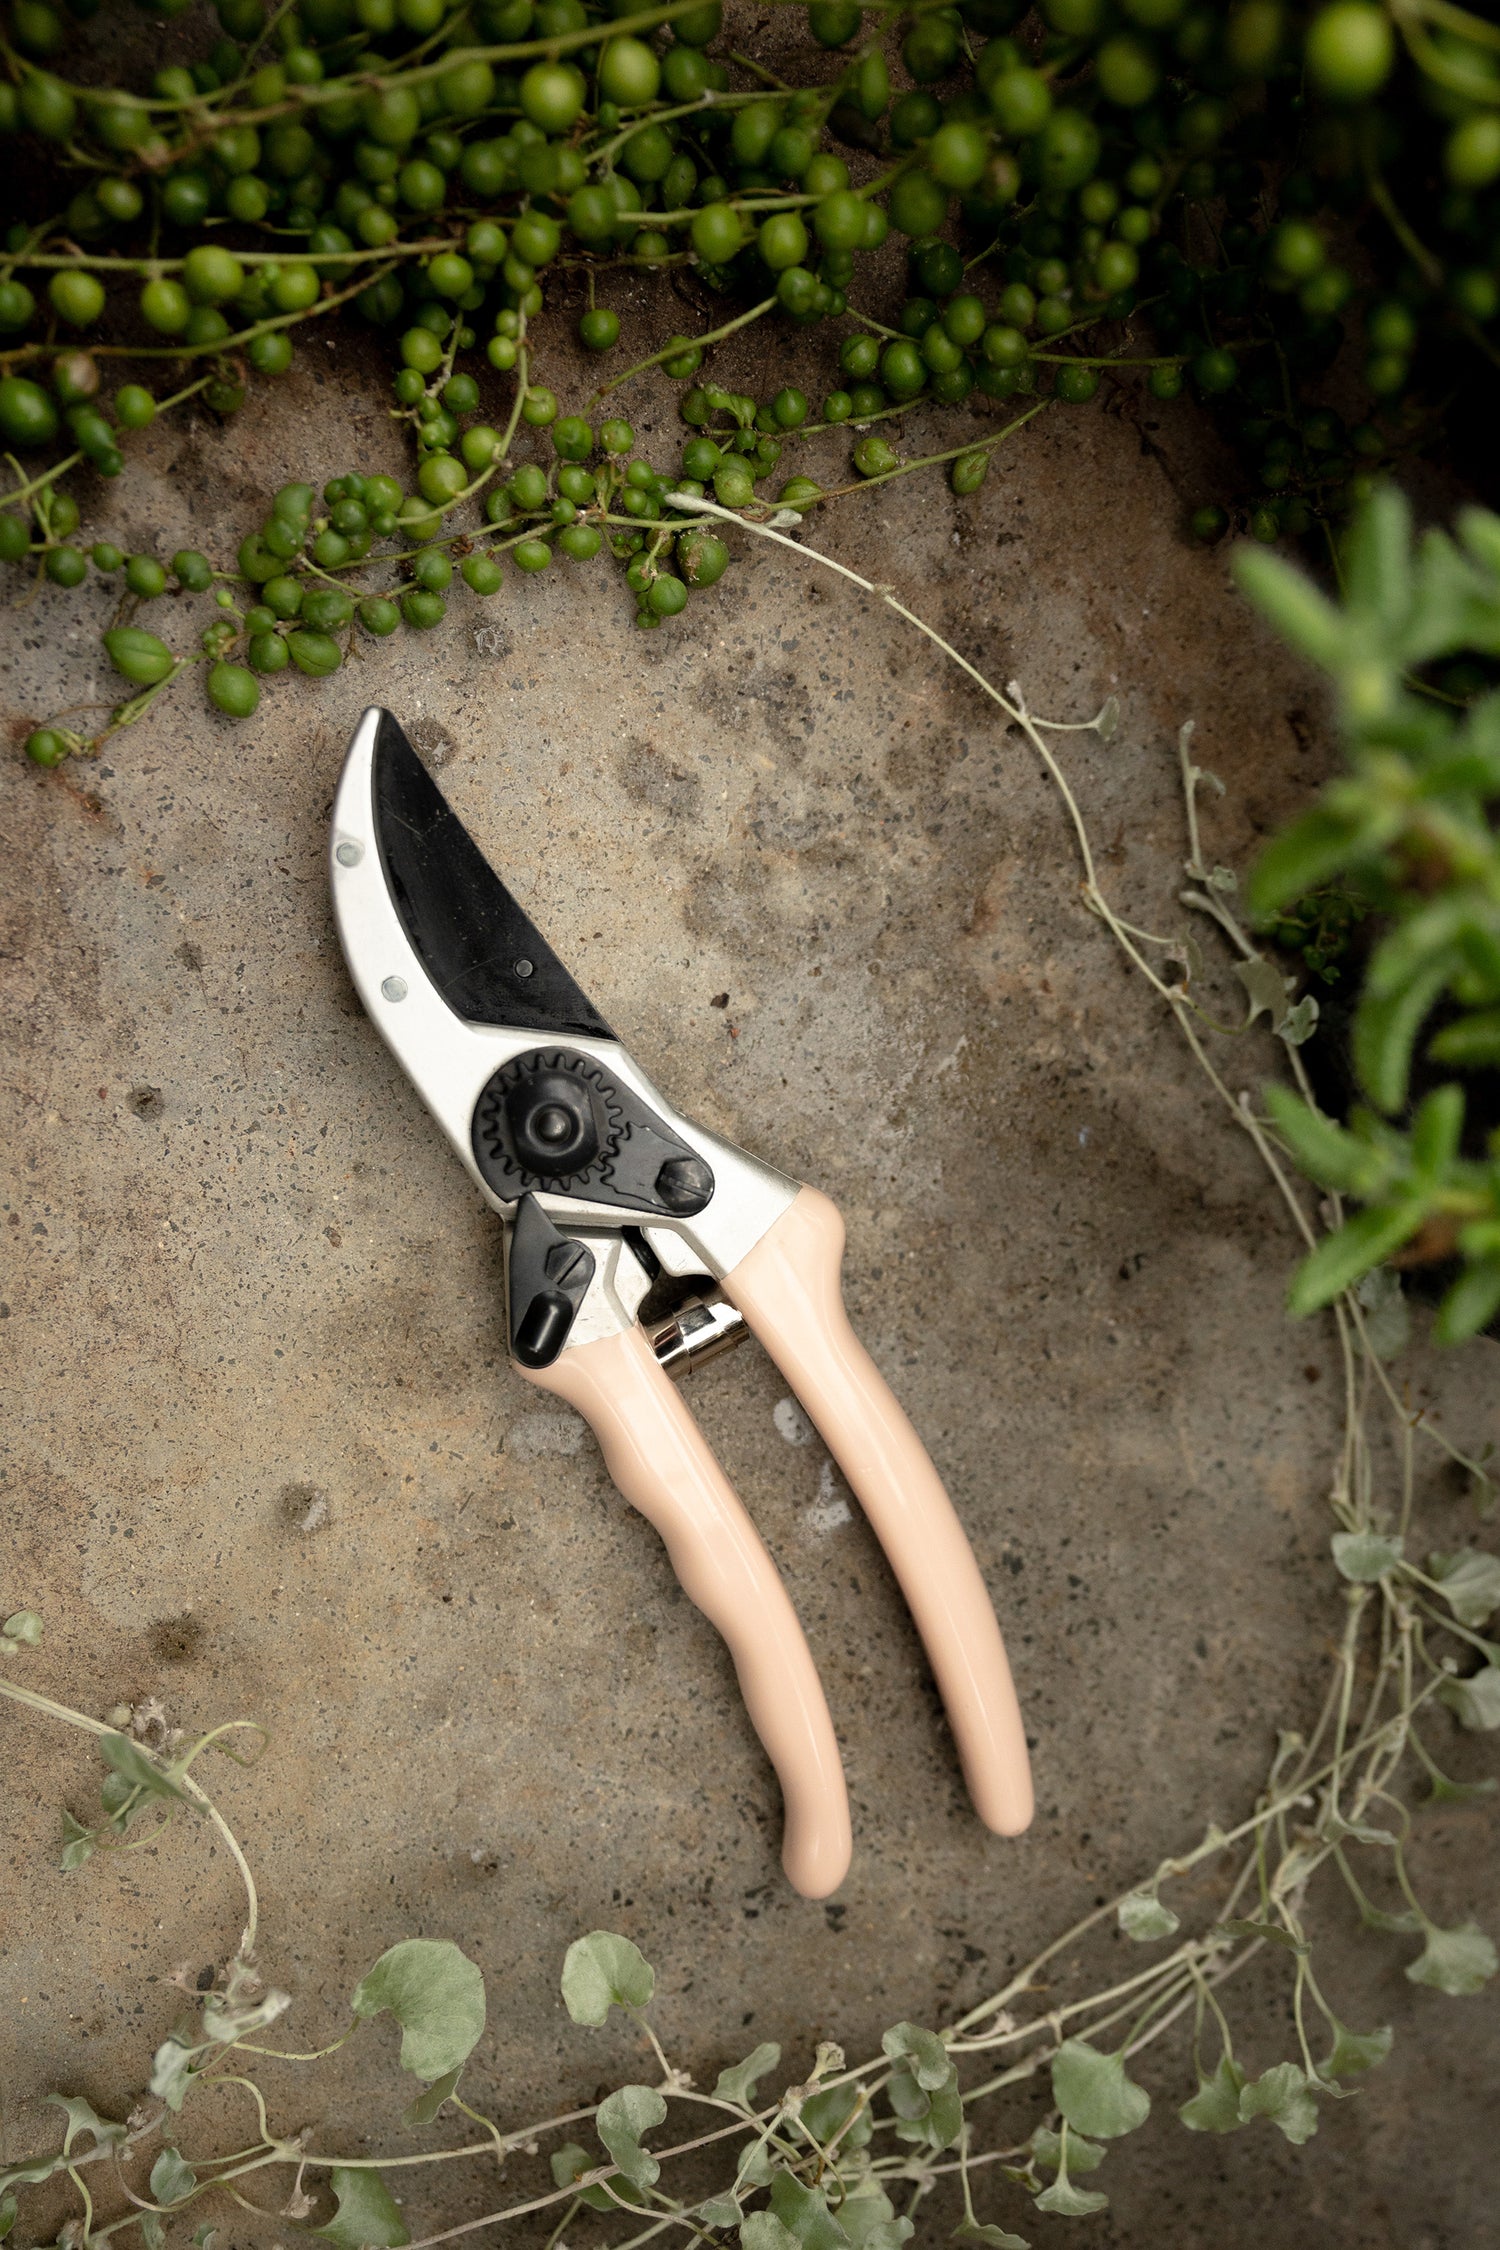
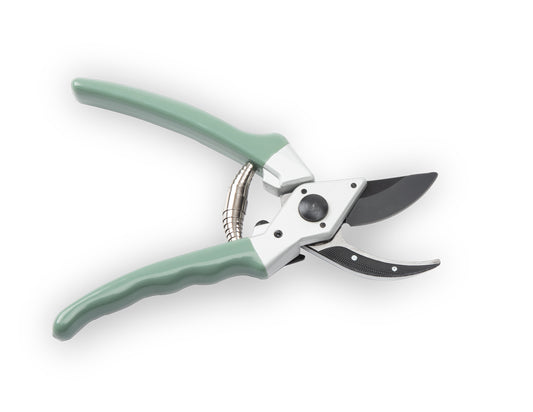
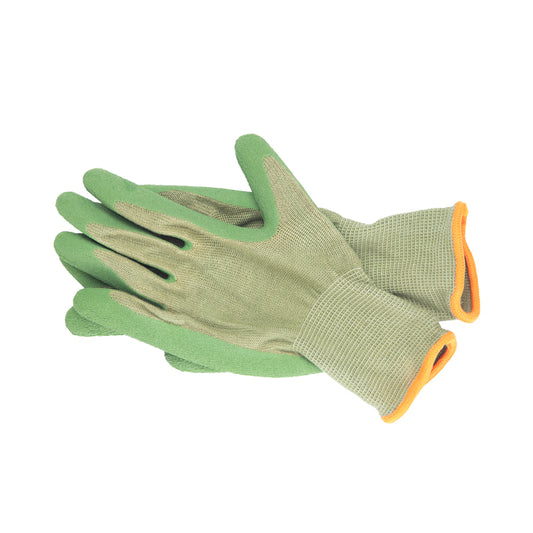
Roses are some of the most beautiful flowers in the world! They have been used, admired and celebrated around the globe for centuries and continue to grow in popularity, especially with all the amazing new cultivars being bred. With thousands of years of roses comes hundreds of opinions on rose pruning, but it doesn’t need to be a complex or tedious task. Before we start any pruning, it is important to ensure your tools are sharp and clean to prevent any damage to the plant and the spread of disease. All you’ll need to prune your roses is a good pair of garden gloves to protect your hands from the spikes and some secateurs. We would also suggest covering your arms as much as possible with a long-sleeved shirt – just in case!
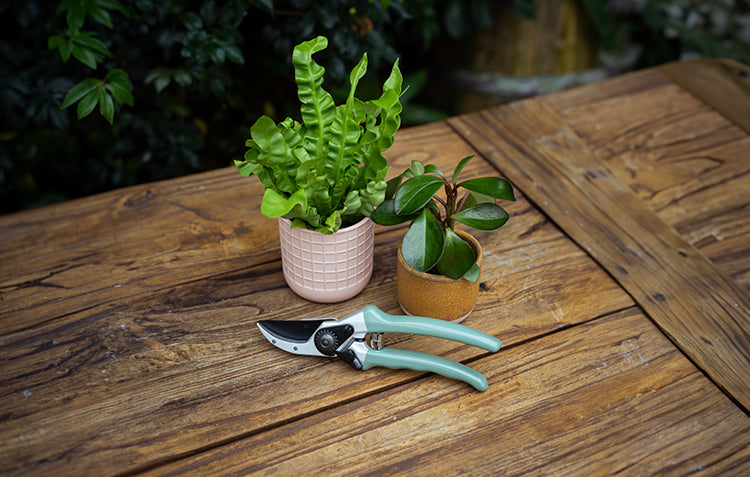
If you’re short on tools or equipment in your collection, be sure to check out Hoselink’s Sharpener, Secateurs (available in new colour ways!) and Garden Gloves.
Remove the dead, damaged or diseased
The first step in pruning roses is to remove any stems that are dead, damaged or diseased. The dead stems serve absolutely no purpose, and the damaged and diseased stems not only look bad, but they can invite infection and disease into the rest of your rose.
The second step is to remove any spindly stems that are less than the thickness of a pencil, because at the end we want to be left with a strong framework to support next season's growth.

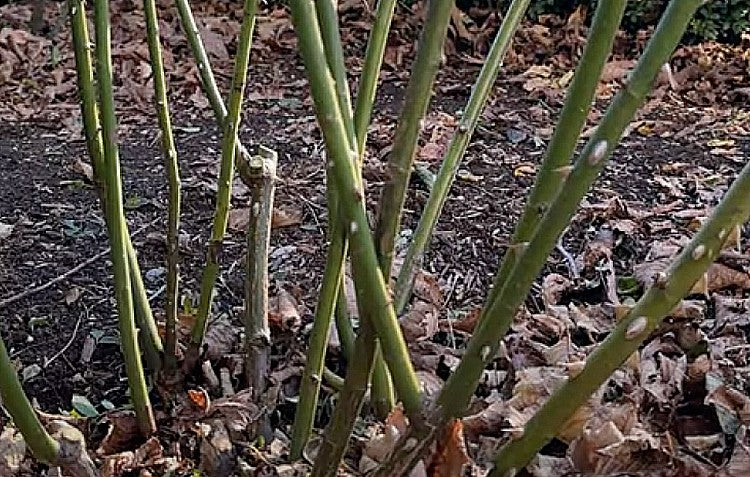
As an extra precaution, you should also remove any stems crossing over, like this one. The reason we do this is because the stems can rub against one another, causing a wound that will create a weak spot, which can lead to infection or disease.
See below an image of crossed over stems that need to be removed.
Cut back to increase airflow and sunlight
The third step is to improve the amount of airflow and sunlight that gets to the centre of your rose. Roses are known for getting all sorts of fungal diseases like black spot and powdery mildew, but by allowing more sunlight and airflow into your rose plant, you will significantly reduce the risk of infection.
We do this by removing any inward-growing stems, any stems very close to each other or any clogging up the centre of the plant. Ideally, you want to be left with three to seven strong upright stems with nice even spacing.

Cut it down to size
Now it’s time to cut the rose down to a height of around 400-500mm off the ground or roughly knee height. If you have a lot of damaged or diseased stems, you can go even lower to make sure they are removed. I know what you’re thinking; nothing will be left of it! Don’t worry, this method will make sure your roses grow back again and again.
When pruning, make sure you cut about 5mm above a bud. The reason we do this is because, if we prune too close to the bud, it will create a weak point for the new stem to grow off and you could lose that whole stem to winds or heavy rain. If you prune too far away from the bud you will be left with little lengths of dieback that, frankly, look horrible.
We also want to prune to an outward-facing bud as the new stems will grow outwards and up. This creates a vase-like shape, which helps increase the amount of airflow and gives us an empty centre to let in more sunlight.


Pest and Disease Control
Now all the pruning is done, the last step is to give your roses a good spray with lime sulphur. Lime sulphur is a fantastic way to kill off any pests or disease, so your rose has a completely fresh start come spring. Be careful, though, as this stuff absolutely stinks and will stain any clothes it touches. Ensure you take adequate safety measures by using personal protective equipment. A mask, a pair of gloves and some old clothes, as a starting point, just to be safe.

What happens next?
After you've pruned, all that's left to do is wait for Spring! By the time Spring rolls around, you can expect new growth and some beautiful roses to enjoy once again.
It’s as simple as that! Now you’re a rose pruning expert and will have strong, healthy roses throughout the warmer months. If you’re eager to see some rose pruning in action, you can check out our video with Ben by clicking here.

