Pumpkins are a great base crop if you are interested in growing more of your own food. You can use them as the base for an entire dish like pumpkin soup or curry, or add to a stir-fry, salad or simply enjoy roasted as a side dish. Pumpkins are very versatile in the kitchen and can be used in both sweet and savoury dishes.
I love growing pumpkins because they provide a high amount of food in just one veggie and can easily be stored for future meals. I really wanted to increase my pumpkin harvest and grow a year’s supply to be able to cook alongside my other vegetables and create more meals using my homegrown produce. Having a large supply of pumpkins would help stock up my pantry and take a big step forward in my sustainability journey.
However, there was a problem. I was struggling for adequate space to grow them. Pumpkins can go wild and take up a lot of space, so I decided to turn one of our driveways into a wild pumpkin patch!
Below I’ve outlined the steps I took to achieve my goal of growing a year's supply of pumpkins.

Choose a location
Pumpkins like plenty of sunlight and a nice dry spot with good airflow. They grow on a sprawling vine that grows quickly and can easily take over a garden space and shade out other plants. In previous years, I have tried to grow pumpkins under my fruit trees and ended up with a tangled mess of vines all through my trees! This year I have decided to allocate a specific pumpkin patch to let them run wild on. Pumpkins are great climbers so you could choose a smaller space and build a sturdy climbing structure for them to grow over. As the pumpkins start to develop, they may need a little extra support under the fruit to balance their weight and to prevent them from snapping off the vine too early.
I chose to use one of my driveways that was underutilised and had a good amount of sunlight and, importantly, plenty of space! The ground was hard and compacted but because the pumpkin’s root system can be shallow and sprawling, with a good amount of compost worked in, they were happy and thriving.
Prepare the patch
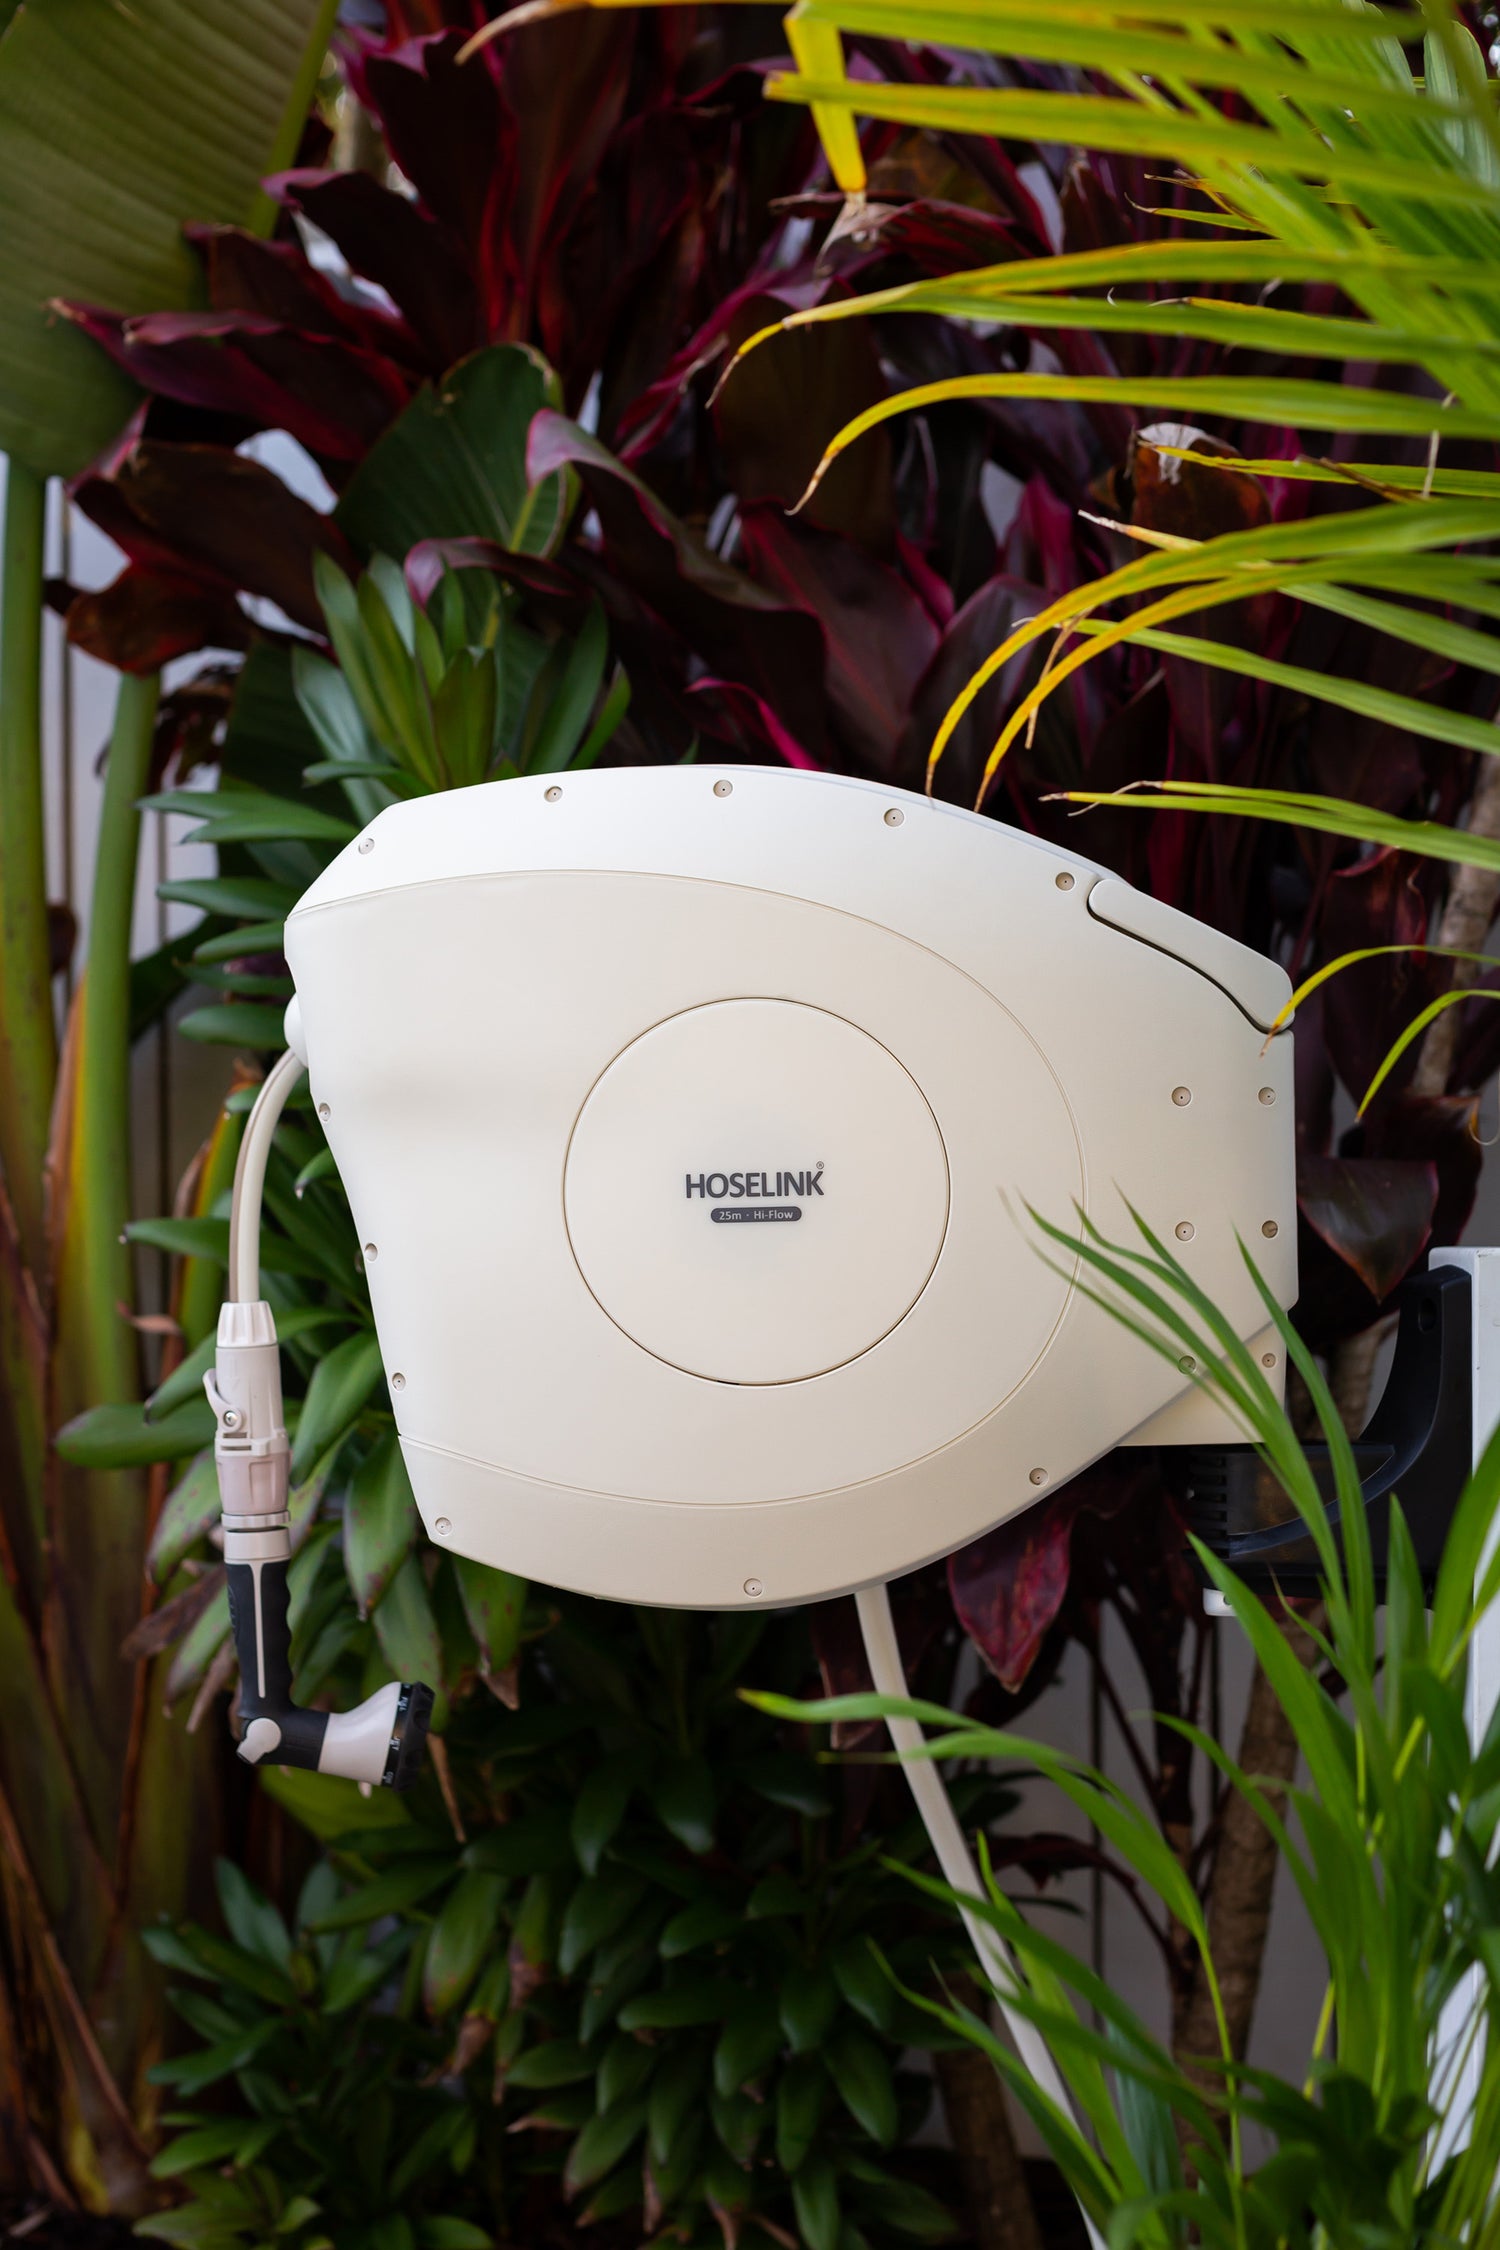
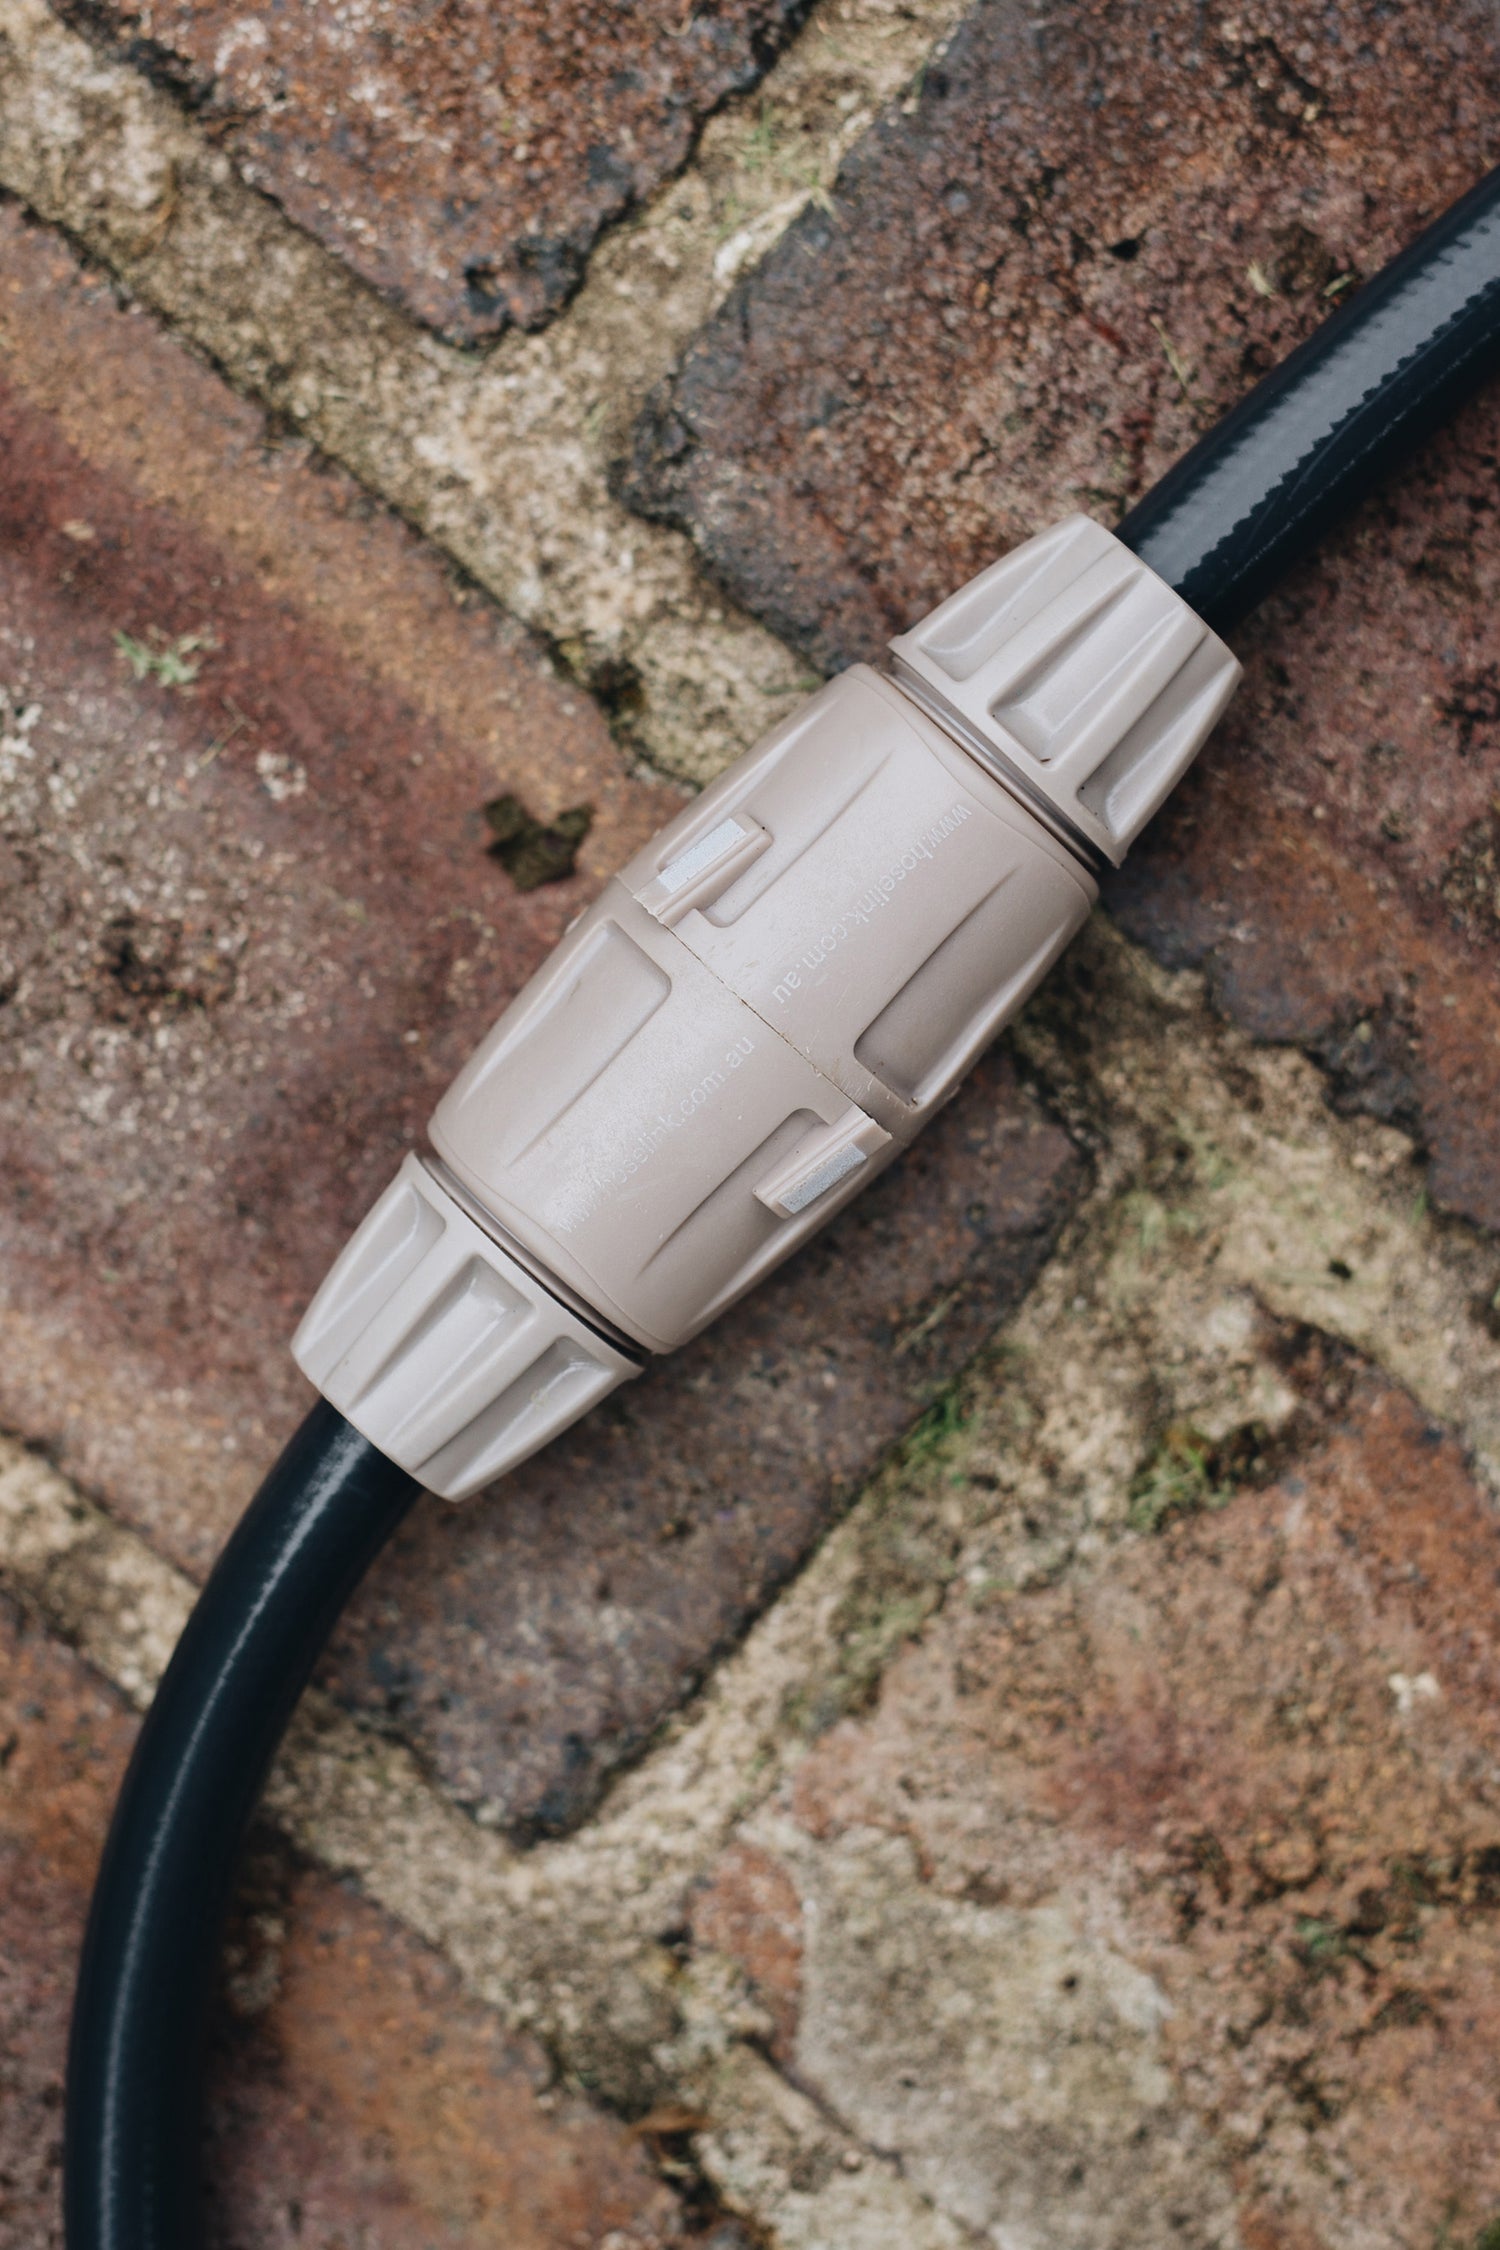
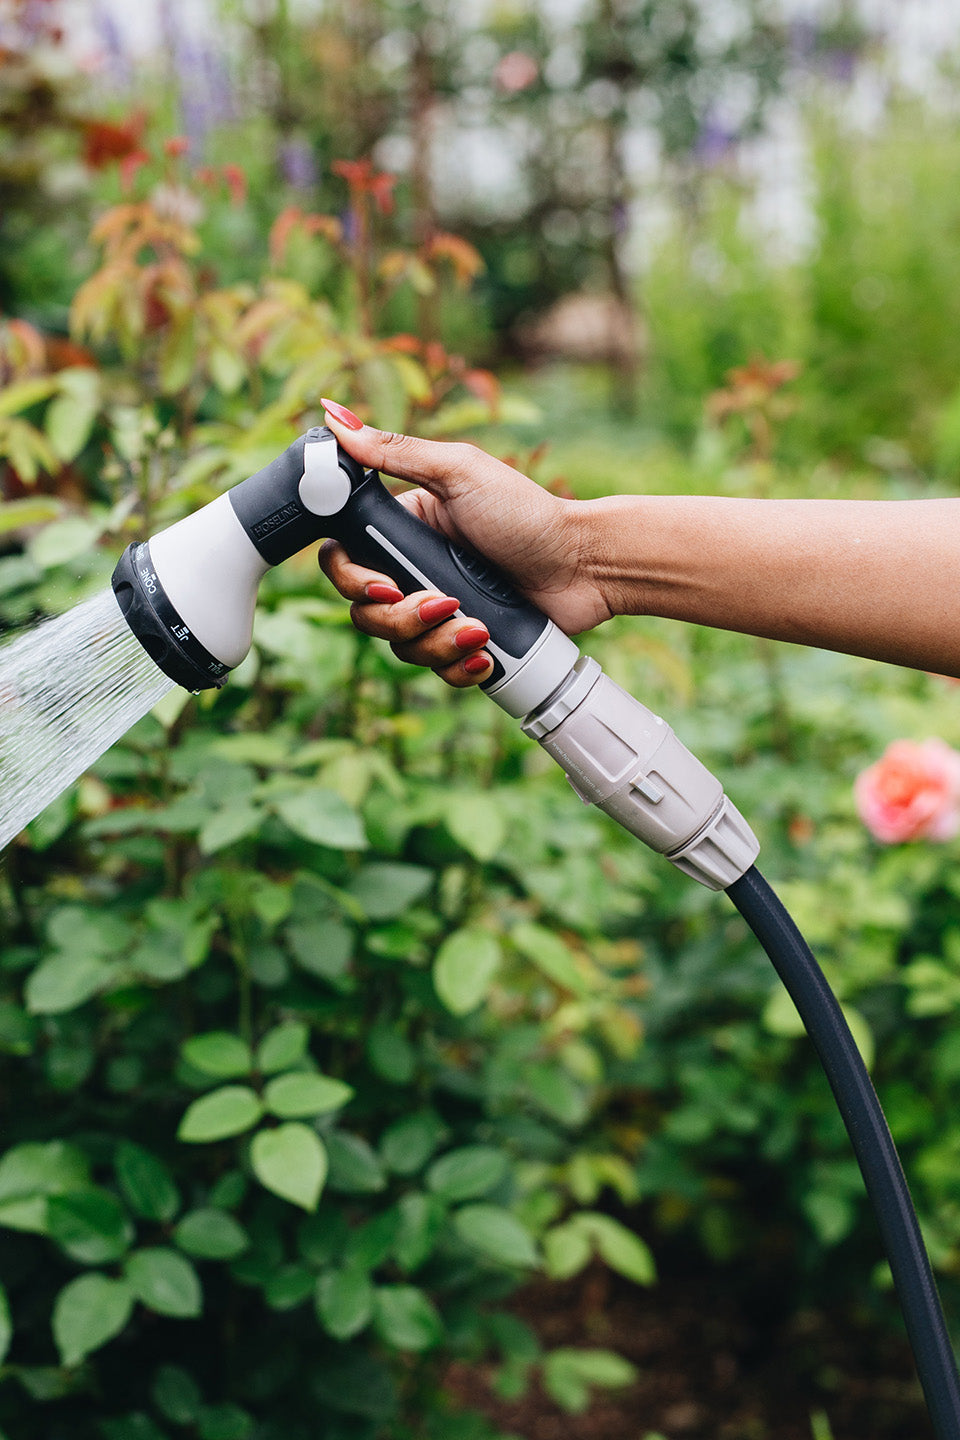
I started preparing the patch by laying down some cardboard, newspaper, toilet rolls, dried leaves and then a 30cm layer of high-quality compost. I mixed in some quality composted manure and then topped it with a thick layer of mulch. I found a few worms from my back garden and added them into their new home to help create some amazing soil. I gave the new garden a really good soak with my Hoselink Retractable Hose Reel and watered in some Seaweed Tonic using Hoselink’s super handy Fertiliser Spray Mixer.

Get planting
Now for the exciting part! Next I planted out my first set of pumpkin seedlings. I tried the Lakota variety for the first time, which is a compact pumpkin with edible skin. They are a beautiful bright orange and green in colour and really made my pumpkin patch dreams a reality!
I believe in creating diversity with permaculture design practices, so I interplanted with a whole heap of different plants including corn, zucchini, edible flowers for the bees, rainbow chard, spring onions, cherry tomatoes and eggplants. This meant the bed was more productive and produced food throughout summer and autumn, rather than just waiting for the pumpkins to be ready. Planting fruits and veggies at different heights and with varying harvesting time frames is a really great way to get the most out of a garden space. It is important that the plants you choose can grow above the pumpkin leaves to receive enough sunlight. Every now and then I did check that the pumpkin tendrils were not latching on to the other plants. If they were, I simply clipped them off. I always carry my Hoselink Handy Snippers when I'm out in the garden to help keep up with any cutting maintenance.
Once my Lakota pumpkins were starting to ripen, I added in some butternut pumpkin seedlings to cultivate a succession crop and help me reach my goal of growing a year's supply of pumpkins. Giving the seedling a good feed of Hoselink Seaweed Tonic helped them adjust to transplant shock and gave them a great kickstart to ensure a healthy crop of pumpkins later on.

Harvest the crop
It's time to harvest the pumpkins when the stem has started to harden off and turn brown. This is usually around the same time as the vines will start dying off and it means your pumpkins are ready to pick. Use high quality garden secateurs to cut the stem as close to the vine as you can. This is to ensure you don't accidentally damage the top of the pumpkin and pierce the skin. You want to make sure no bacteria can get into your pumpkins to ensure they last longer on the shelf.
Store for longevity
To get the pumpkins ready for storing I gave them a good rinse with the hose. I do this in the garden rather than in the sink so that the water and soil is washed back into the garden bed, minimising water wastage. I then wipe them down with a mix of apple cider vinegar (or white vinegar) and water at a ratio of 1:1 or 1:2 to remove any stubborn dirt and bacteria from the surface. If you want to store your pumpkins and have them last for longer, place your pumpkins somewhere dry with diffused sunlight to cure and harden them off for 1-2 weeks. An undercover area protected from the elements is ideal for this. After this time, the pumpkins will be ready to go into storage. It is best to keep them somewhere dry, dark and with good airflow to prevent them from breaking down.
Sustainable crops
Make sure you save the seeds from your best pumpkins. Wash the flesh from the seeds and leave them on a plate to dry out, then place the dry seeds into a paper bag or seed packet ready to plant them in the next season or gift them to friends and family. Make sure you label them with the variety and date.

Pumpkin patch outcome
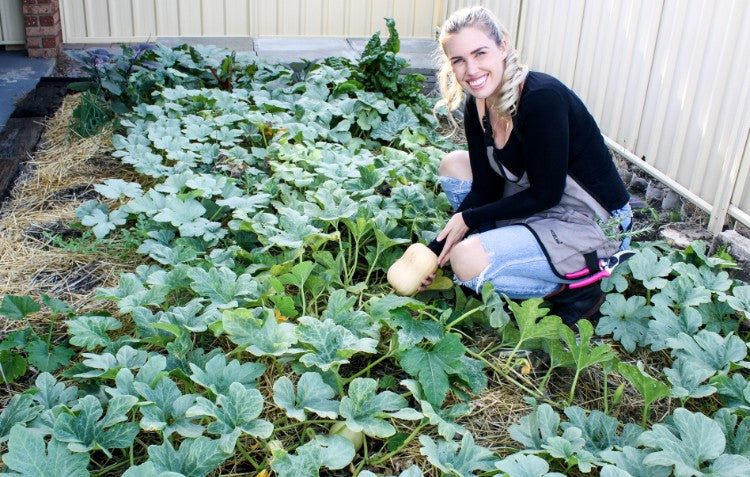
My goal was to grow 12 pumpkins for a year's supply – calculated on eating one pumpkin per month, and I grew a total of 18! The driveway pumpkin patch has definitely been a success.
In addition to feeding us and allowing us to share food with friends and neighbours, this patch is now home to a family of lizards, hundreds of worms, bees and heaps of other beneficial insects. Creating diversity in plants will lead to a diversity of insects, and nature will create a beautiful balance and a thriving ecosystem. This unused space is now so much more productive than the previous hard, compacted driveway full of weeds and grass.
I will be getting ready to start planting a new crop of pumpkin seeds at the end of August, so now is a great time to start thinking about unused or neglected places you could utilise to start your own pumpkin patch. Observe your property, watch which areas get sun and shade throughout the day and the year. This will help you to identify potential new garden spaces and you will be able to pick which plants will grow best in those conditions. If you are in a rental house or a property with no available bare soil, movable raised gardens provide a great alternative.
For more information about how to harvest and store your winter pumpkins check out Sustainable Holly's YouTube video https://youtu.be/7-HLfnNc4jM