While many see moss as something to get rid of, others see a healthy, vibrant green moss as a decorative addition to their outdoor space. What’s great is that you don’t even need to wait for it to form naturally, it’s all in your hands! You can cultivate your own moss to grow in the garden as its own surface base or sit it on a ledge or attach it to a rock to give your outdoor space a more authentic rainforest vibe. Inside isn’t out of bounds either as you can grow moss in containers, terrariums or on green walls.
By providing the appropriate environment for healthy growth, you’ll be able to create a space with a feel that matches that of any English woodland or tropical rainforest.

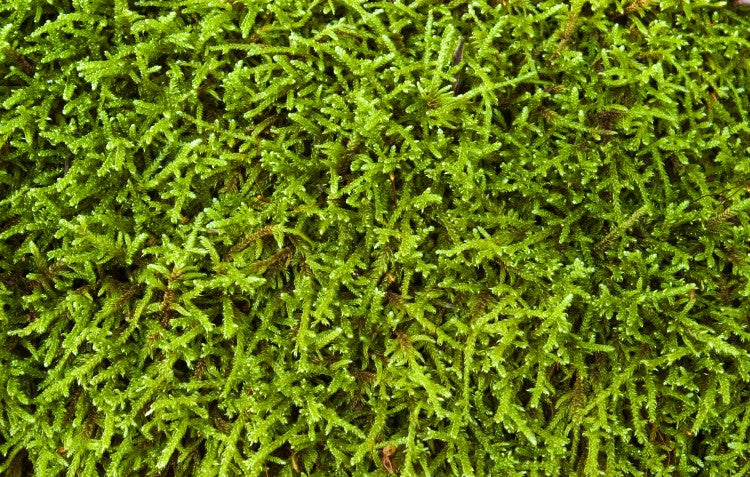
What is moss?
Moss is a naturally occurring plant that grows self-sufficiently, predominantly on pavements, rock walls and bare spots on your lawn. Mosses tend to grow in more mild, temperate areas as they favor shade, light moisture and acidic soil.
Types of moss
Before you take the leap and start growing your own moss, it’s essential to understand which varieties of moss will best suit your garden. There are two main ways in which moss can grow:
Acrocarpous moss
This strain of moss grows thicker and in a vertical direction. You might recognize this variety in fall as it’s known for its stems which shoot out (similarly to flowers) with tiny capsules full of spores. As it’s a delicate moss, this variety is more prone to damage if disturbed or trodden.

Pleurocarpous moss
This variety is more fern-like and grows faster and flatter, spreading wider across its surface, like carpet. It’s more robust and can handle foot traffic and other forms of external disruption more easily.

Benefits of moss in your home and garden:
The benefits of moss stretch far beyond aesthetics. In fact, there’s a range of environmentally focused and personal benefits that growing your own moss can bring to your gardening routine:
It’s low maintenance
Not only is moss easy to plant and inexpensive to grow, but it does so without much maintenance required. With the average lawn, garden bed or even your indoor plants, you can expect to attribute much of your water bill to their upkeep, especially in the warmer months. However, moss can thrive and prosper in all kinds of environments and can survive for months without water. Even if the plant dries up, it will usually grow back on its own, meaning you won’t need to replace it. Now, how much time and effort would that save you?!
It preserves the environment
Your garden shouldn’t just be there for its appearance; it should play its own part (no matter how small) in the preservation of our planet and its natural resources. Aside from reducing your garden’s reliance on water, moss doesn’t require the use of fertilisers or other chemical agents which can find their way into the soil, natural water streams or the bellies of wildlife if they’re not used or disposed of correctly.

It improves indoor air quality
When growing moss indoors, a process known as bio-filtration takes place. The moss absorbs air pollutants, transforms them into carbon dioxide and water, then releases them as clean air. With many home and business owners guilty of failing to clean their heating, ventilation and air conditioning thoroughly, having moss-heavy green walls can help purify the air naturally, without all the labor.
When to grow moss
The most effective time to transplant or propagate moss is in the first month of spring when the sunbeams from a lower position in the sky, and the ground is still moist from winter rain and snow. What’s important to consider is that the earlier in spring you start, the more time you allow moss to establish itself before the summer heat, which offers challenging growing conditions for moss. It’s key to ensure that any remnants of winter frost have disappeared from the surface of your garden before you choose a nice shady area for your moss to flourish in. As for growing moss indoors, the choice is yours! Just ensure you’re able to give it some access to sunlight and water and maintain control of your space's temperature. This can be tricky depending on where you house is located or how much sunlight you have access too. Ensure you have enough time to move your moss outside during the best periods of sunlight.
How to grow moss by transplanting
The easiest way to get started with moss is to propagate it, which simply involves taking an existing piece from somewhere else and moving it to your desired location. If you don’t have access to moss from within your own garden, you’ll be able to purchase most varieties from your local garden center. The transplanting technique works most efficiently and effectively when you want to grow moss directly in the soil as an edging to your garden bed or to cover up bare patches of lawn.
Steps:
1. Rake the surface of your soil and weed the area to ensure the moss begins its life on a smooth, uninterrupted patch of your garden.
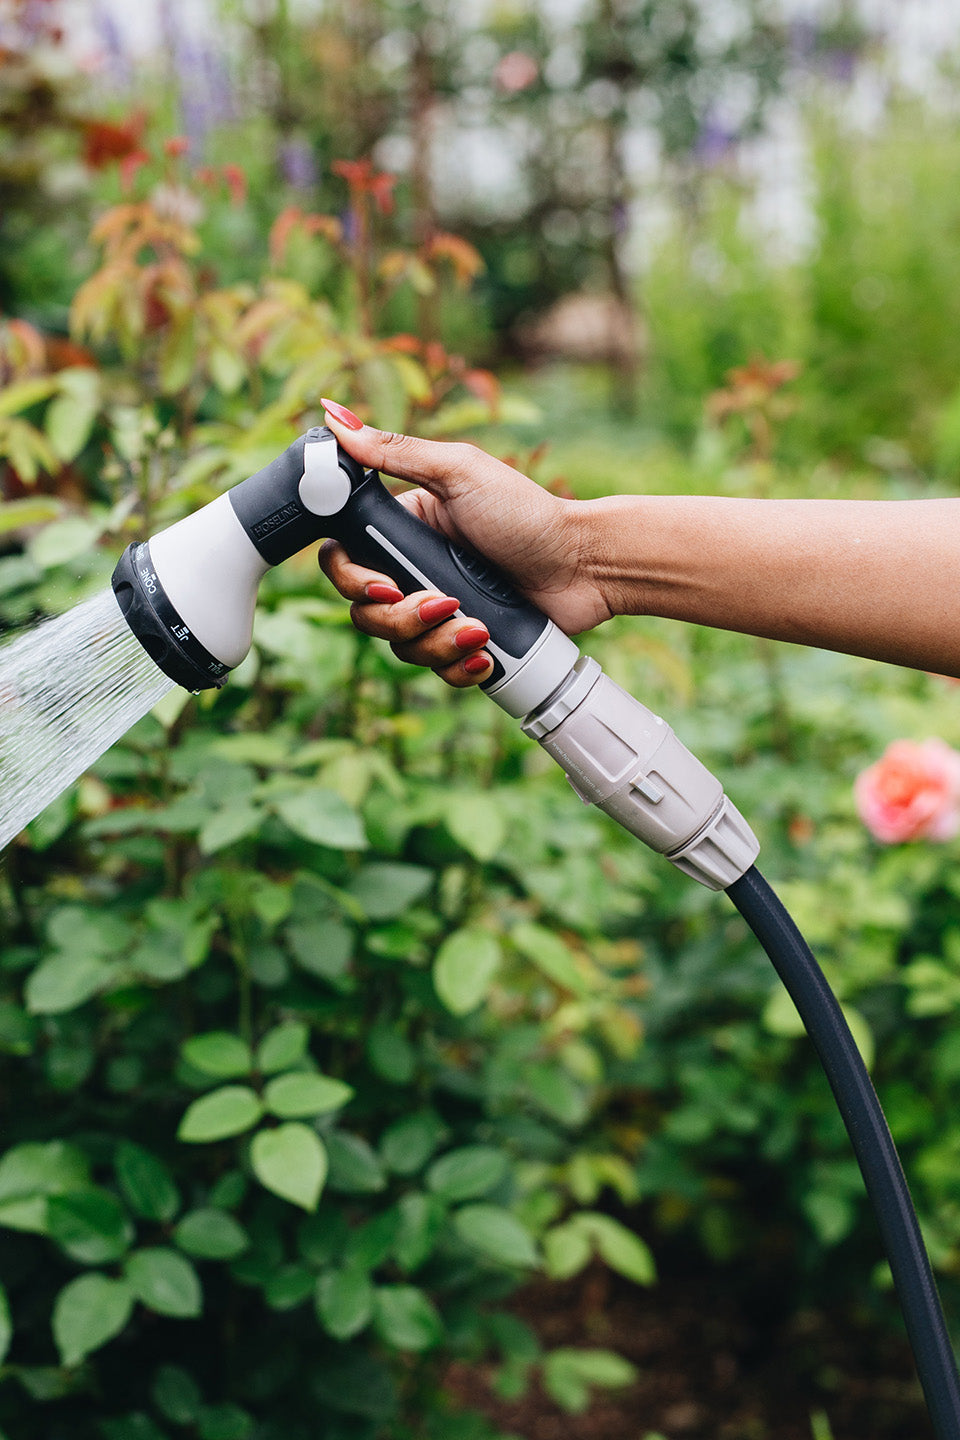
2. Wet the area with a hose or sprinkler and allow moisture to soak in for approximately 15-20 minutes to avoid any puddling.
3. Lay your moss on top of the soil, press it down firmly and keep it in place securely with garden pins or stones.
4. Ensure that the soil is kept moist for the first month after planting, you’ll be able to tell that the moss has bound with the roots when it stays in place after a gentle tug.

How to grow moss on rocks and bricks
It can be difficult growing transplanted moss on a solid surface like stone or brick, but that’s where slurry comes in. Slurry is a mix of solids and liquid that acts as a carrier for transporting solids.
Steps:
1. In a blender or food processor, combine water, buttermilk or beer with 1.5 cups of chopped moss. Allow the mixture to sit and intertwine at room temperature, which creates spores within the moss.
2. Coat your chosen surface with the slurry, using a paintbrush or any cooking utensil you have lying around.
3. Once applied, gently spray the slurry with a fine water mist to add fresh moisture to its surface area. Continue to do so regularly with a sprinkler or hose until sprouts begin to emerge.

How to grow moss in a terrarium
Without roots, flowers or seeds, moss receives its nutrients and moisture through its leaves and the air around it. Through the flexibility and low maintenance requirements of moss comes the opportunity to build a miniature decorative landscape of your own, all inside a jar!
Steps:
1. Place pebbles in the bottom of a container to a depth of approximately 30mm, then top that with 30mm of granulated charcoal (found in hardware or pet stores).
2. Top your base with 50mm of potting soil and finely mist the soil with water using a spray bottle filled with clear water.
3. Form the support for your indoor moss garden by placing a variety of different stones and sticks over your base to help the ground resemble a forest.
4. Place layers of moss over the base. You can also break your layers into smaller pieces to fill in any cracks.
5. Mist the moss once again, cover your jar/container and place it in a room away from bright sunlight (preferably in a space that’s room temperature).